


 Sailing Season 2020 - General maintenance

Sailing Season 2020 : maintenance, servicing and addition or positioning of equipment for comfort and for open berths.
|
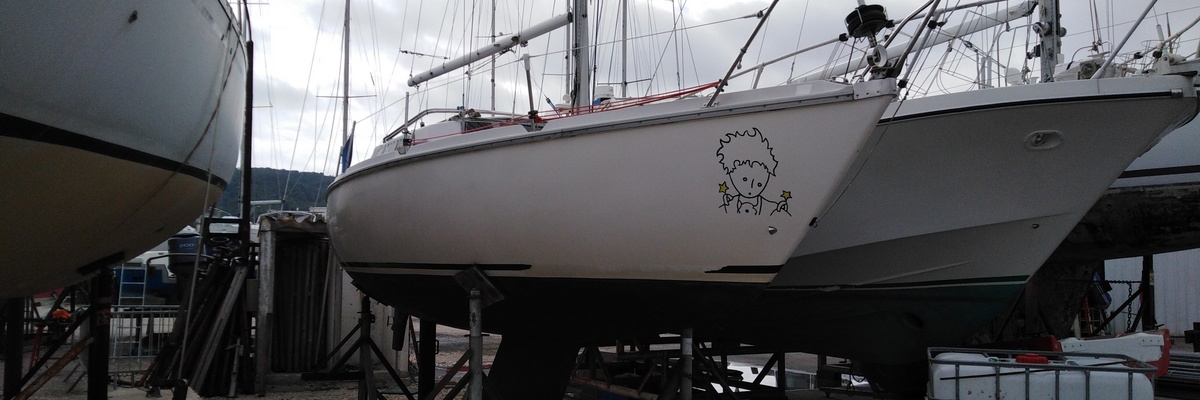
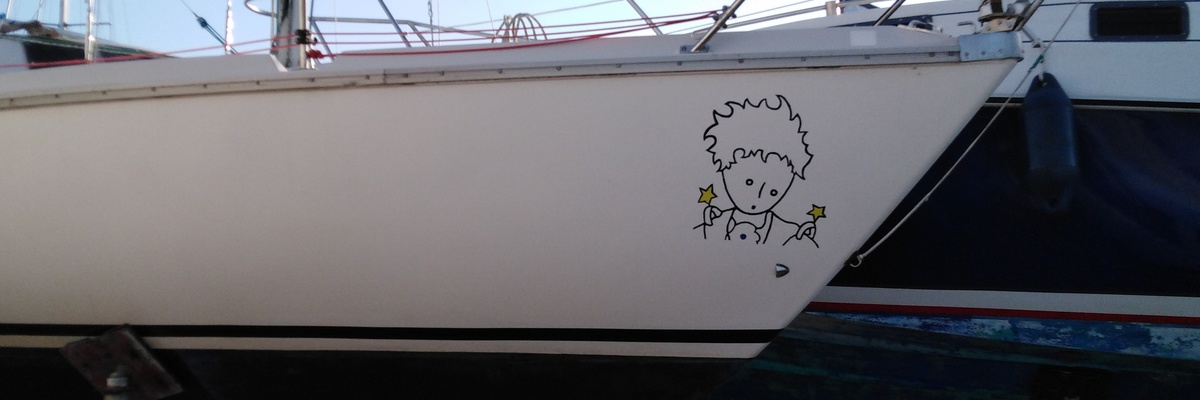
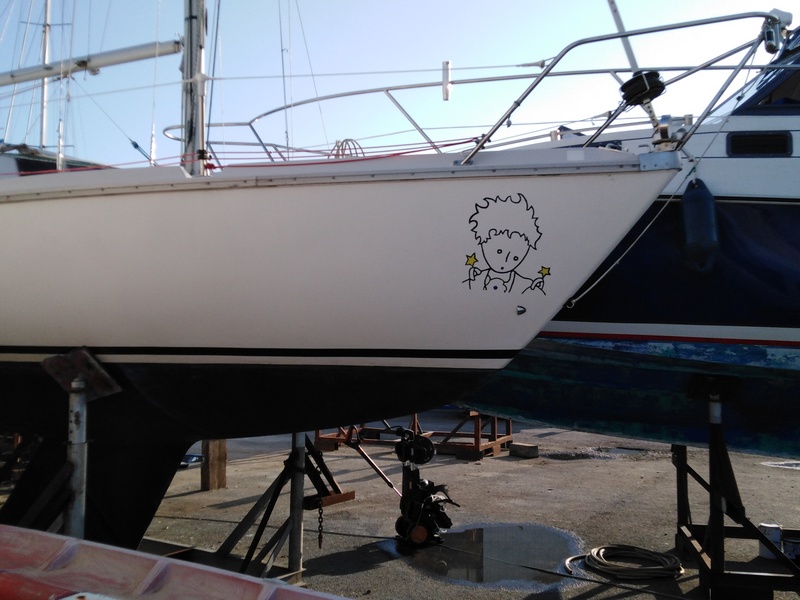
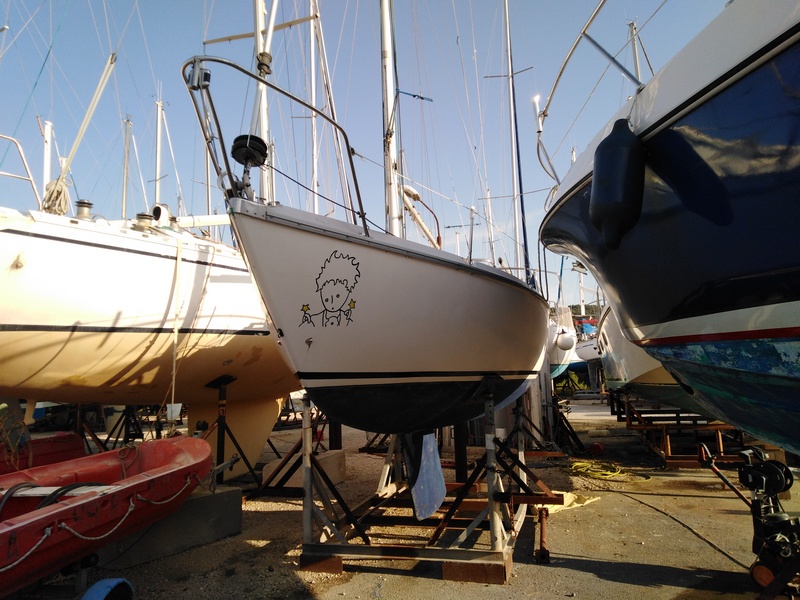
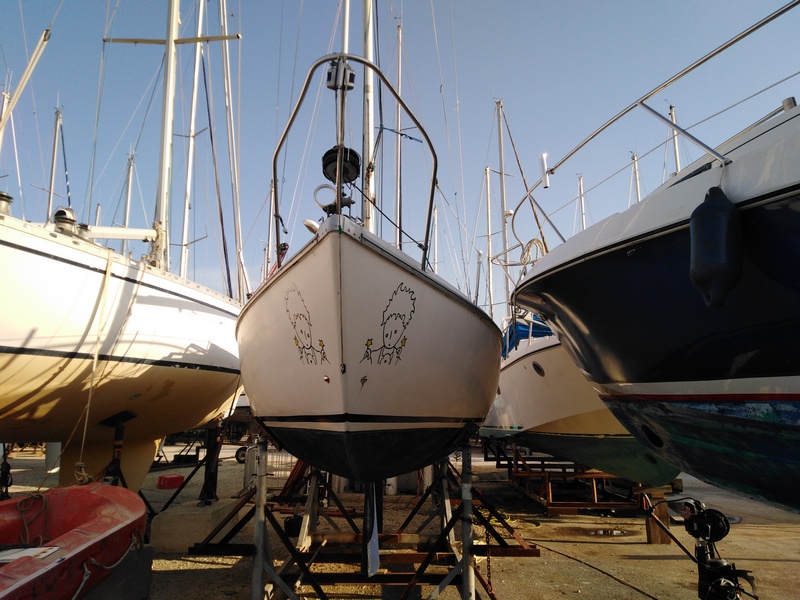
On both sides of the hull, the abrasive effect of the bow wave got the better of the decorative adhesive strip placed just above the waterline. This strip is not standard and was produced in a specialized workshop. It is installed by applying a layer of liquid soap on the adhesive, which allows it to be positioned easily. Once the new strip was in place, I used a PVC triangle for smoothing and remove the soap and stick it without wrinkles and air bubbles. |

|
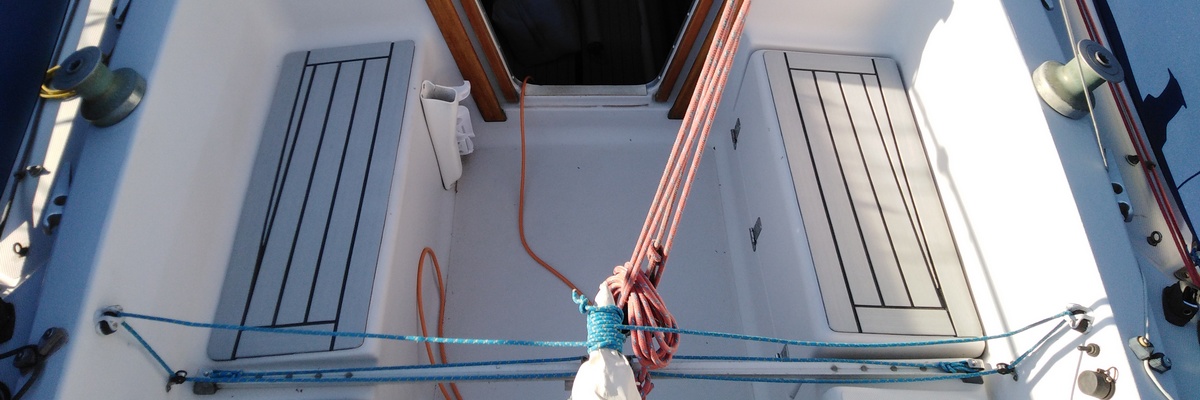
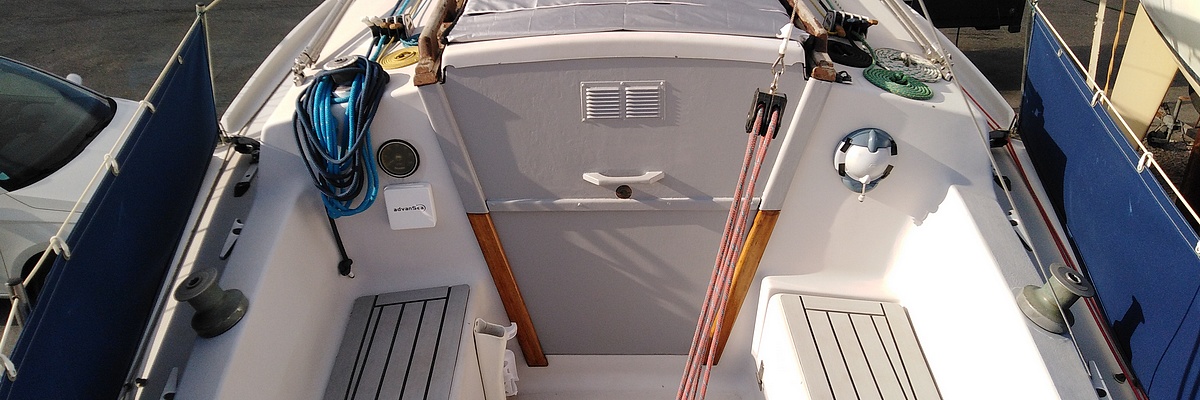
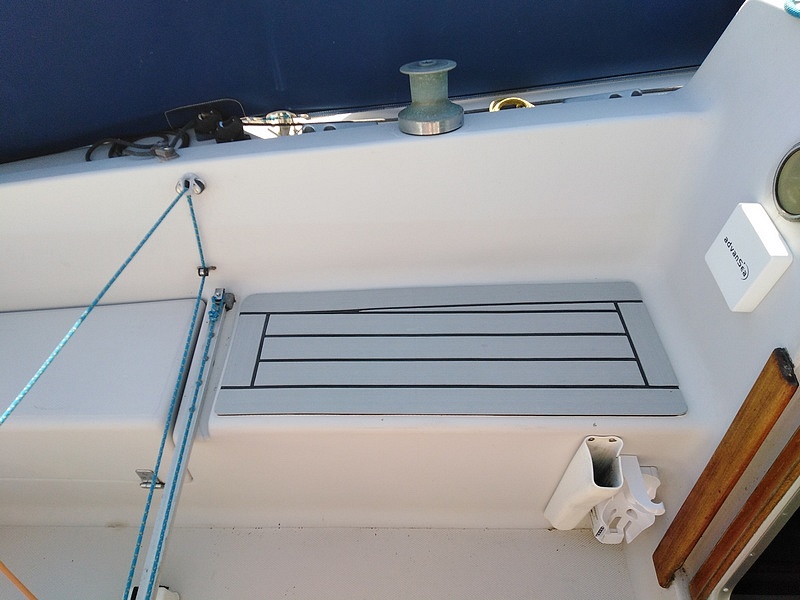
The material used for the benches is PVC matching the color of the deck and sold by the meter. It can be easily cut with scissors. The reverse is self-adhesive. Once stuck it doesn't move anymore. It is guaranteed for five years to be weatherproof and UV resistant. No maintenance unlike wood. Stunning effect ! The door, on the outside, needed a new varnish, this one having been finally damaged by bad weather, sun and UV. The varnish requiring too much maintenance and as I have not found a special satin boat paint, I put two coats of satin acrylic paint for exterior woodwork with a ten-year warranty, then it was covered with three coats of satin transparent marine varnish Syntilor. |

|
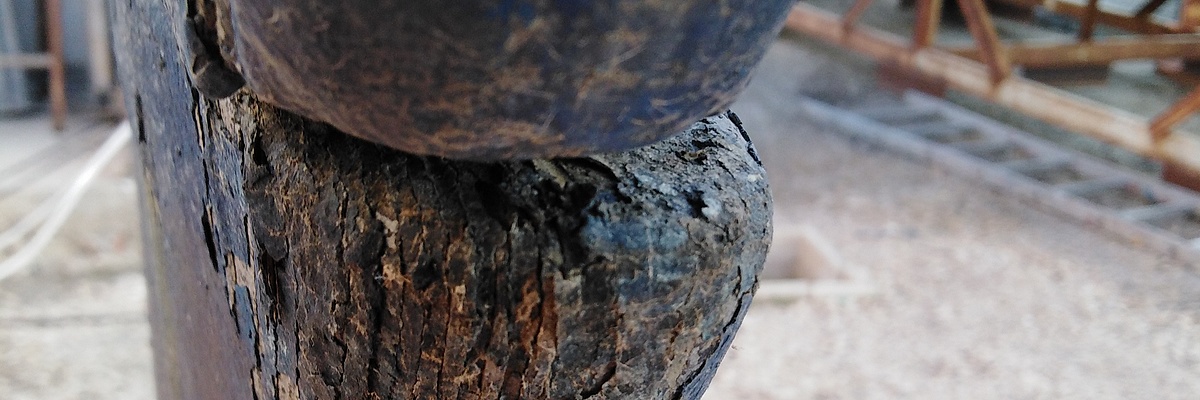
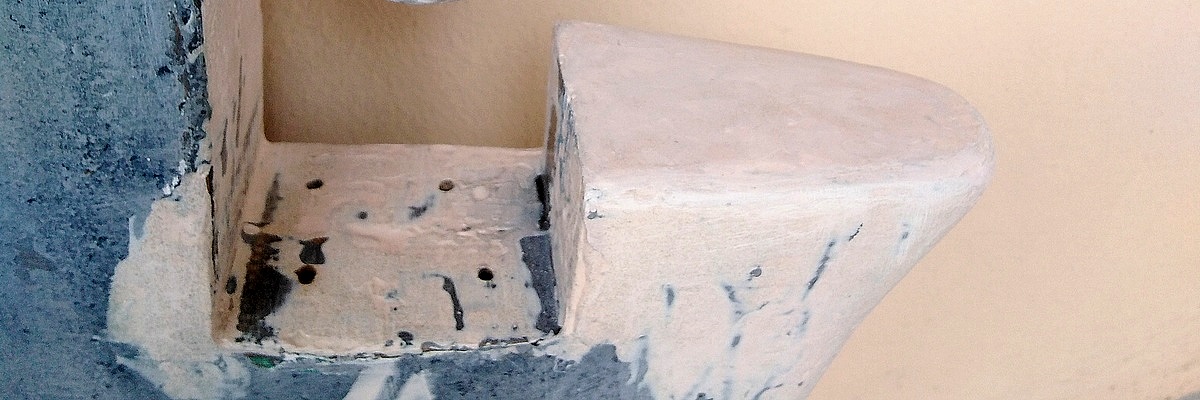
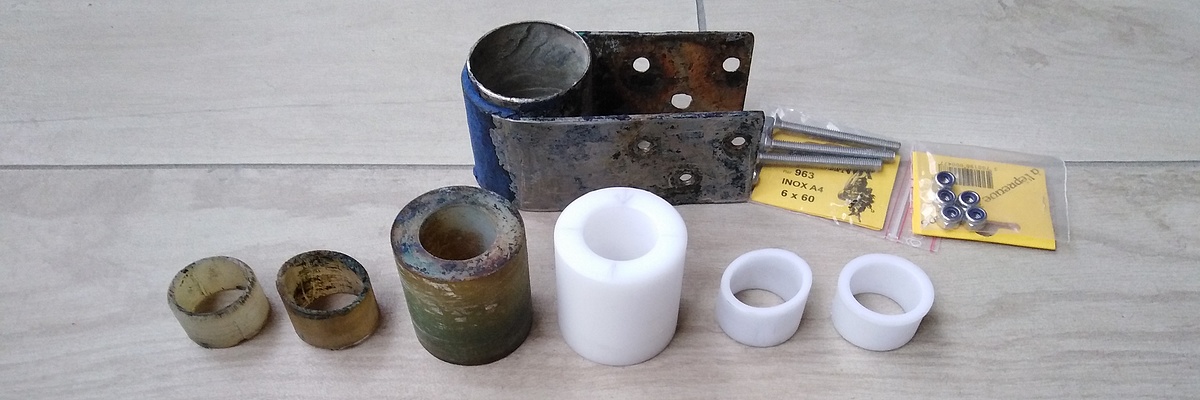
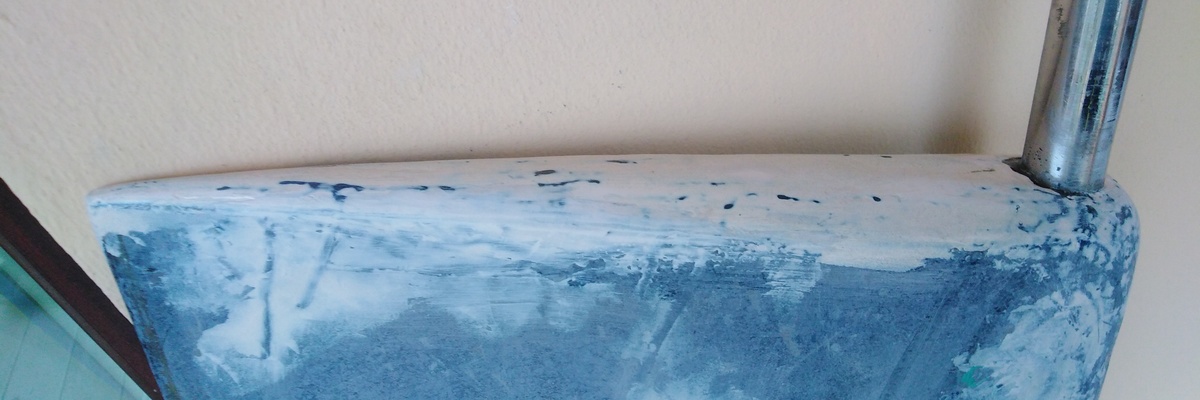
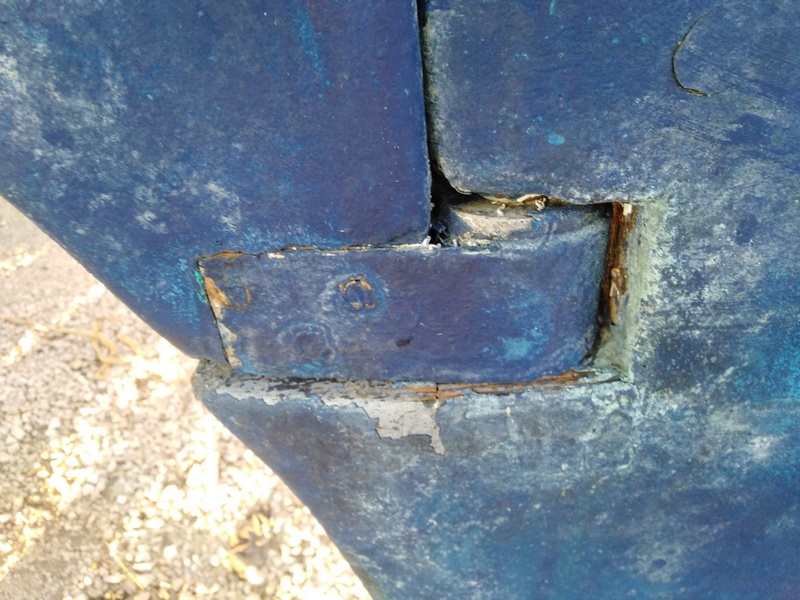
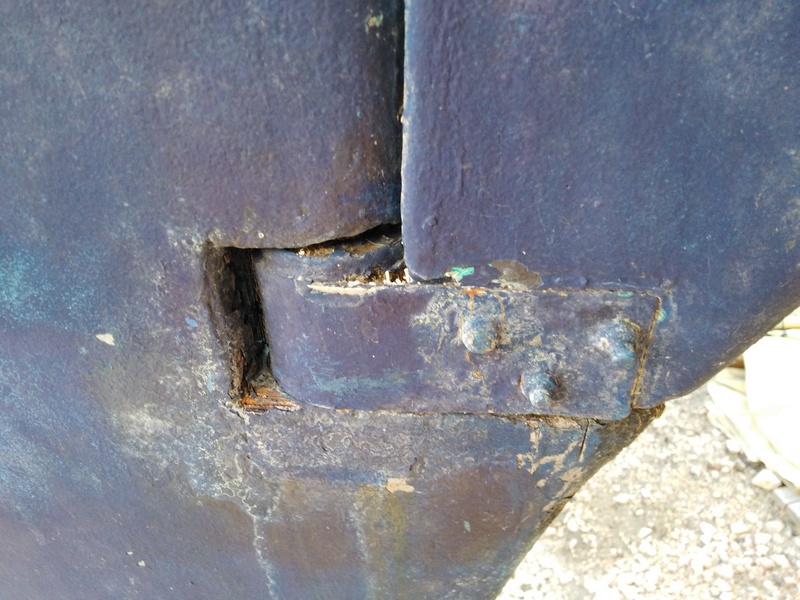
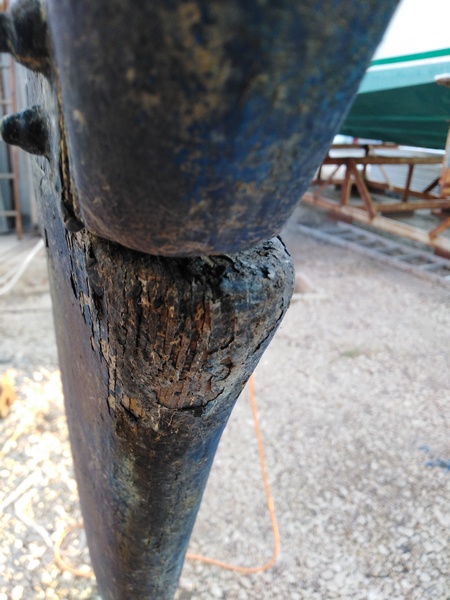
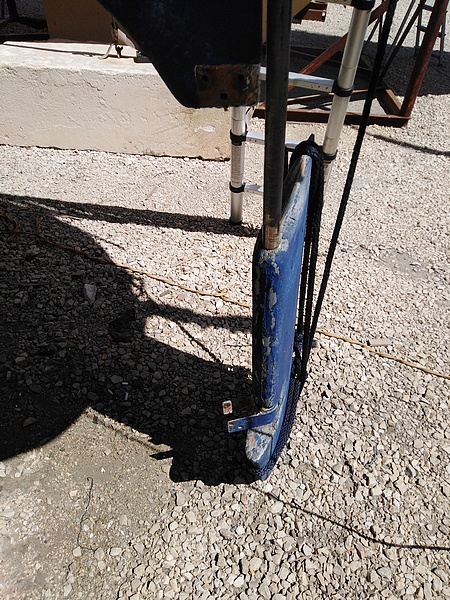
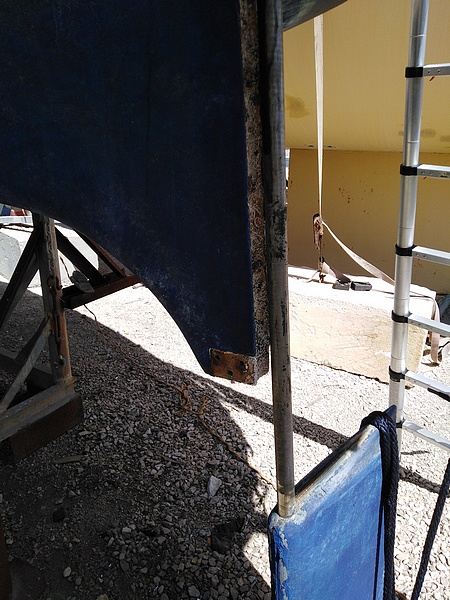
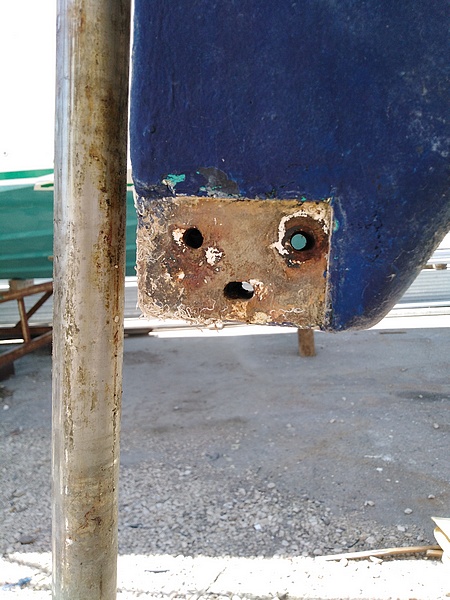
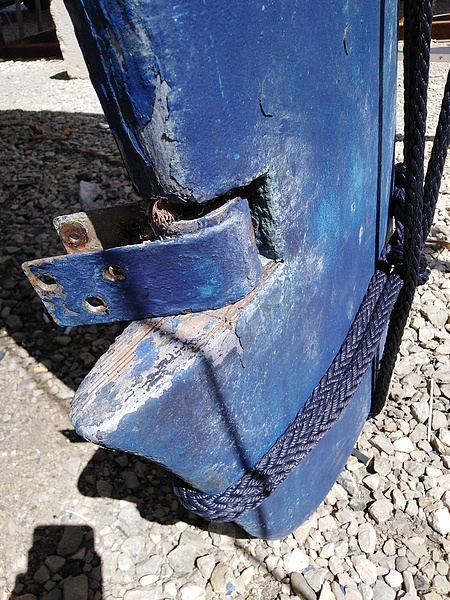
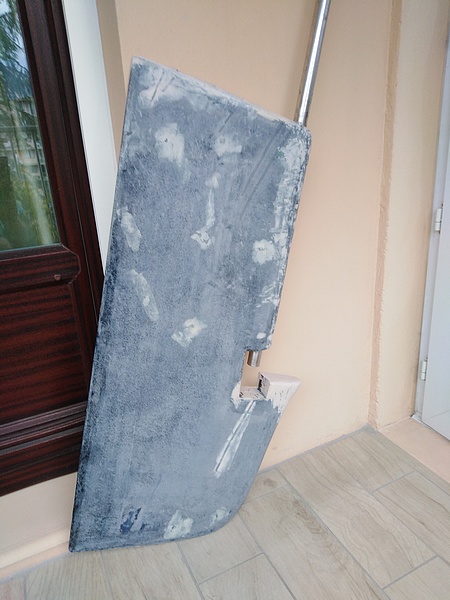
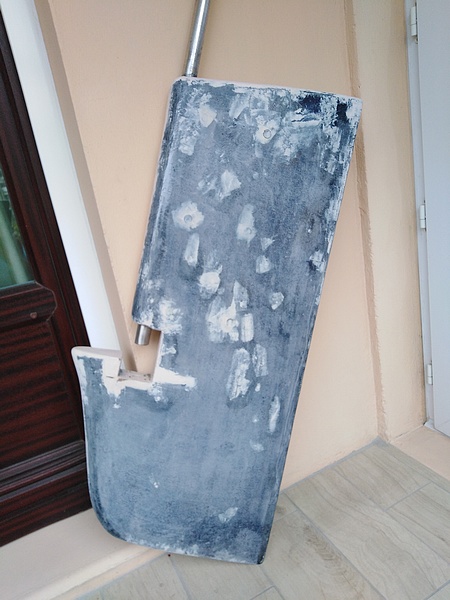
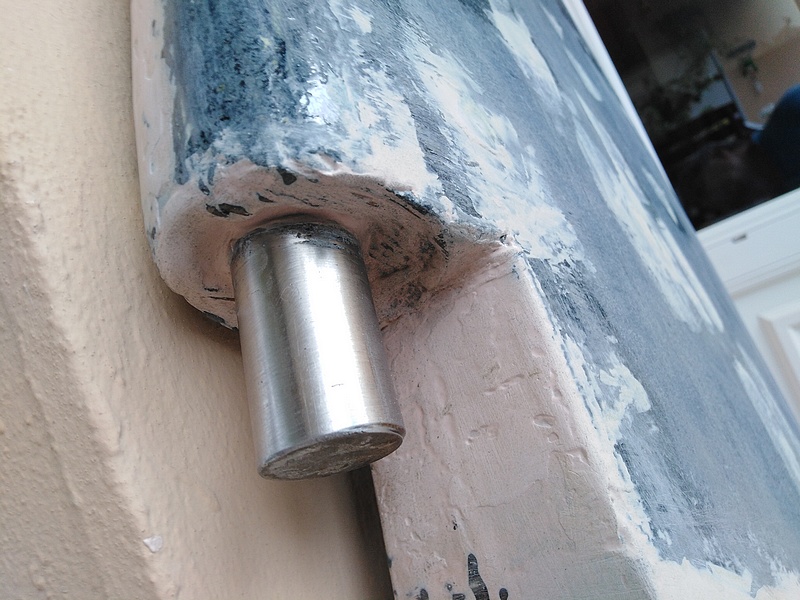
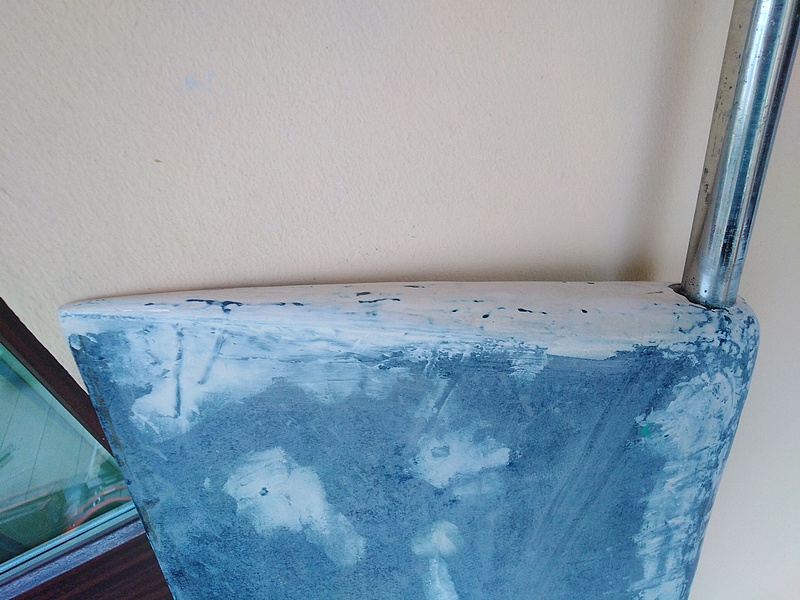
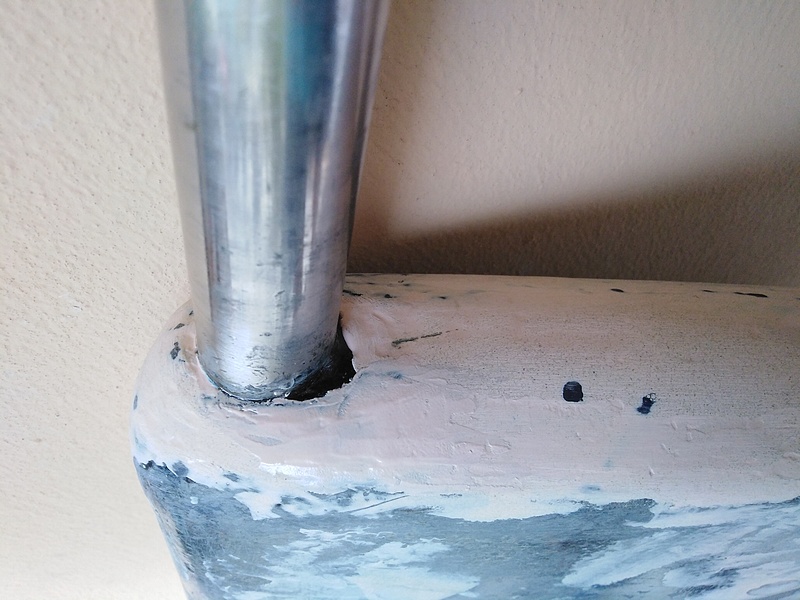
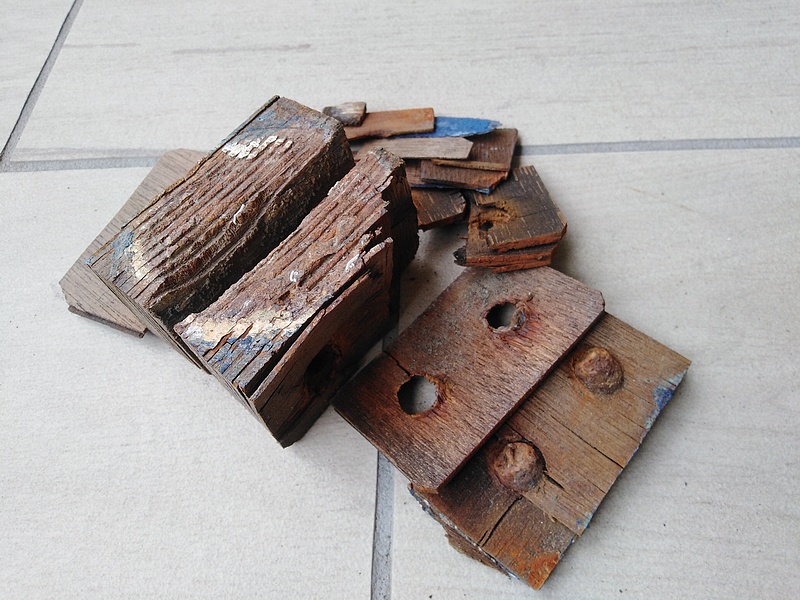
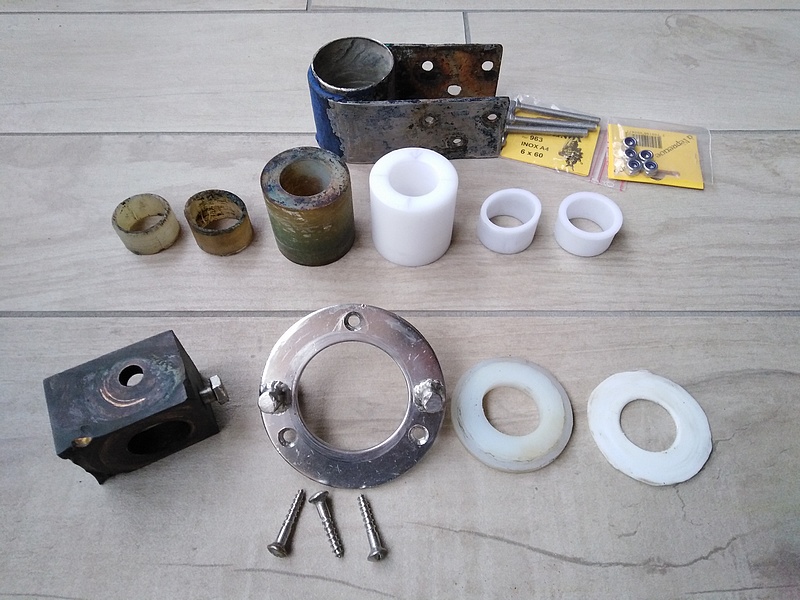
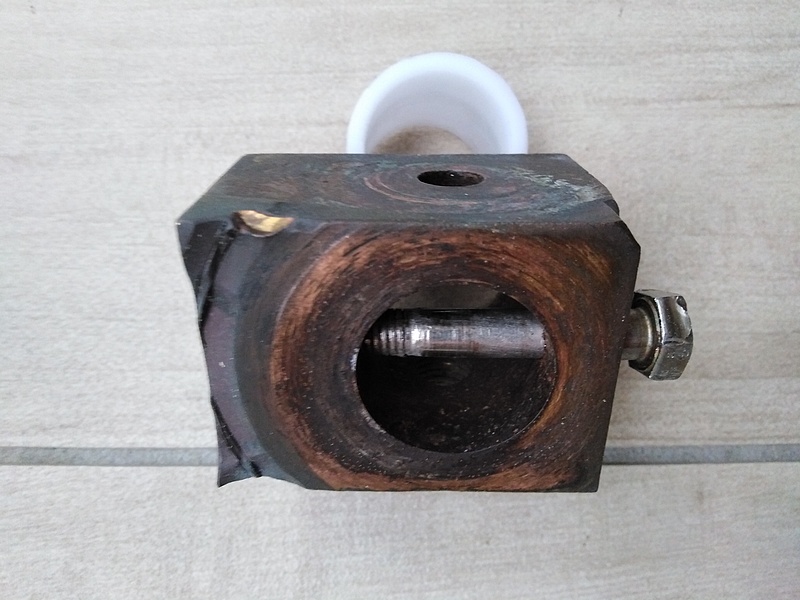
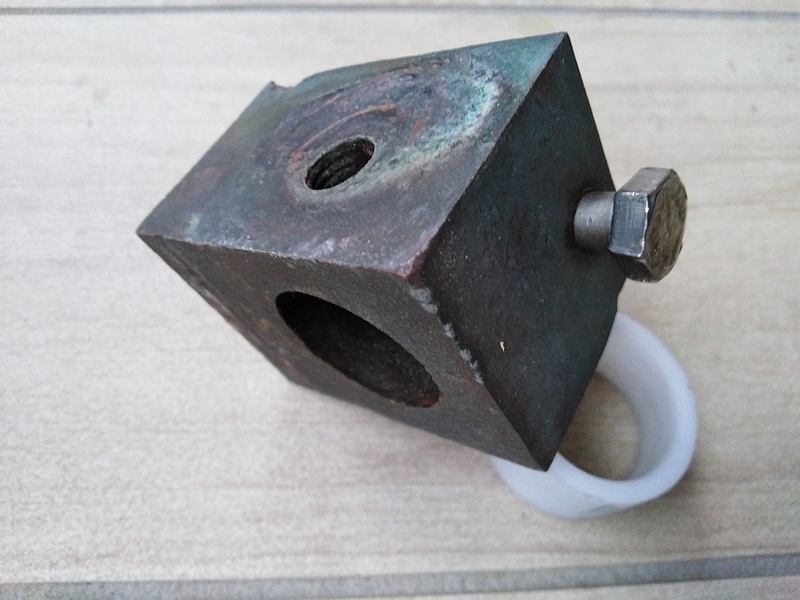
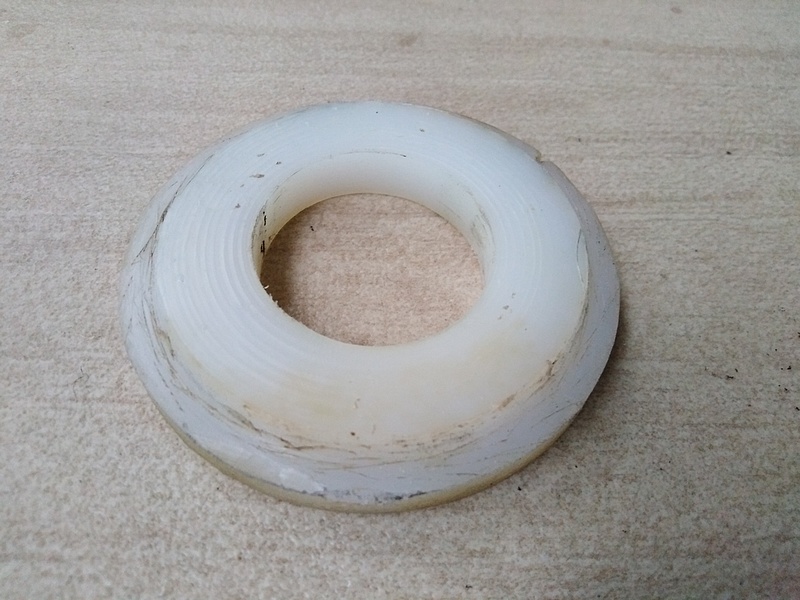
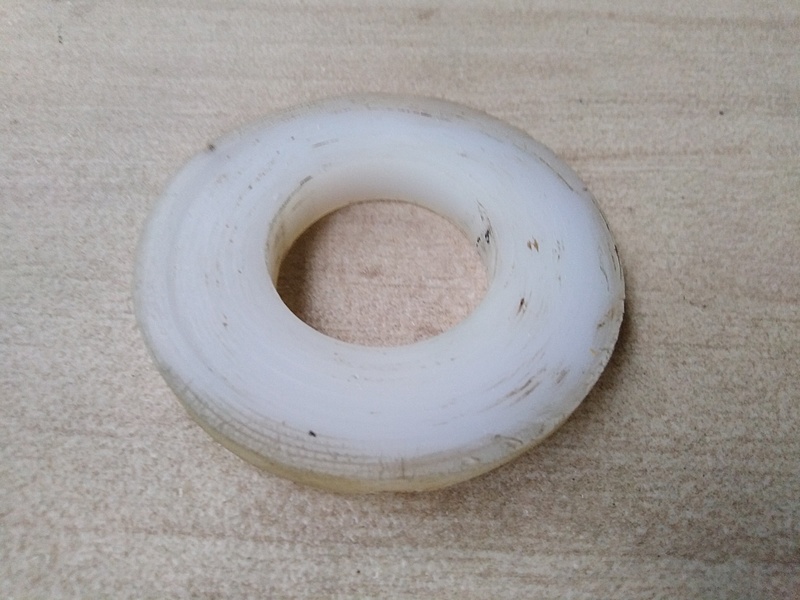
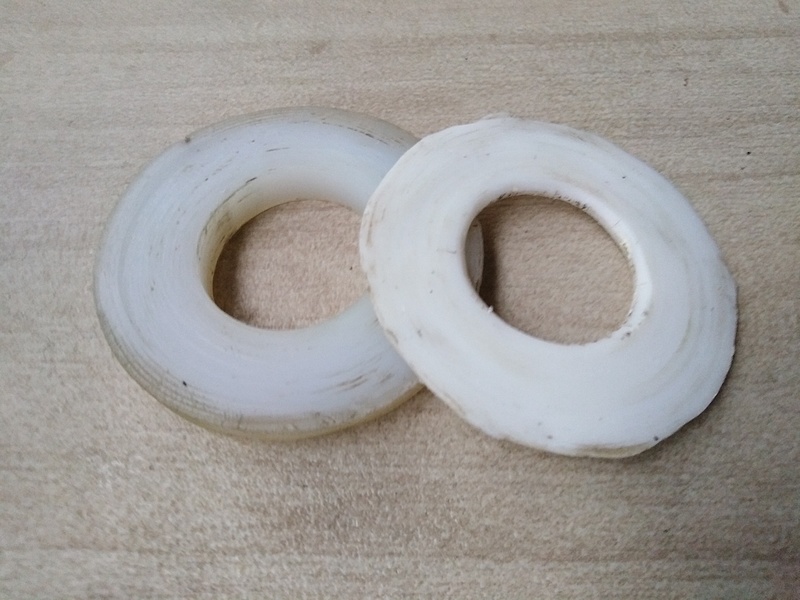
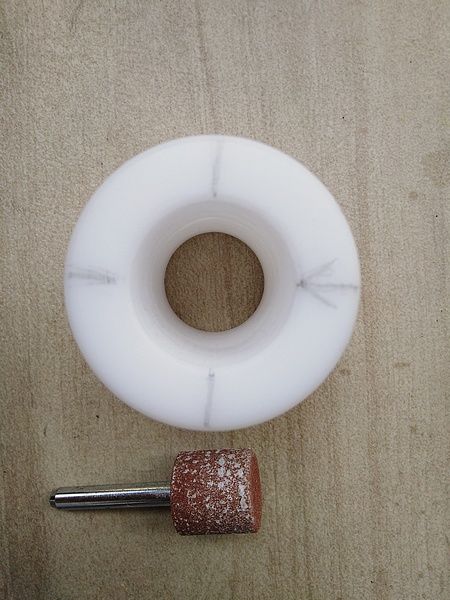
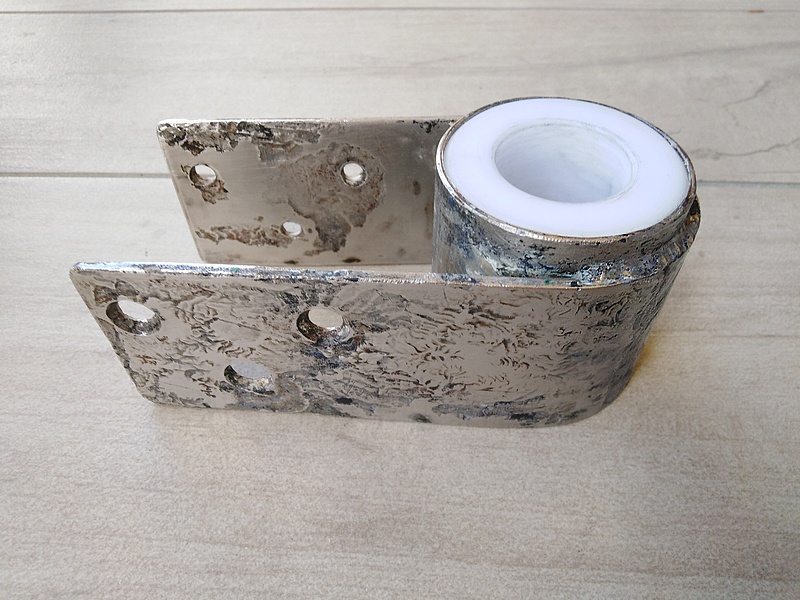
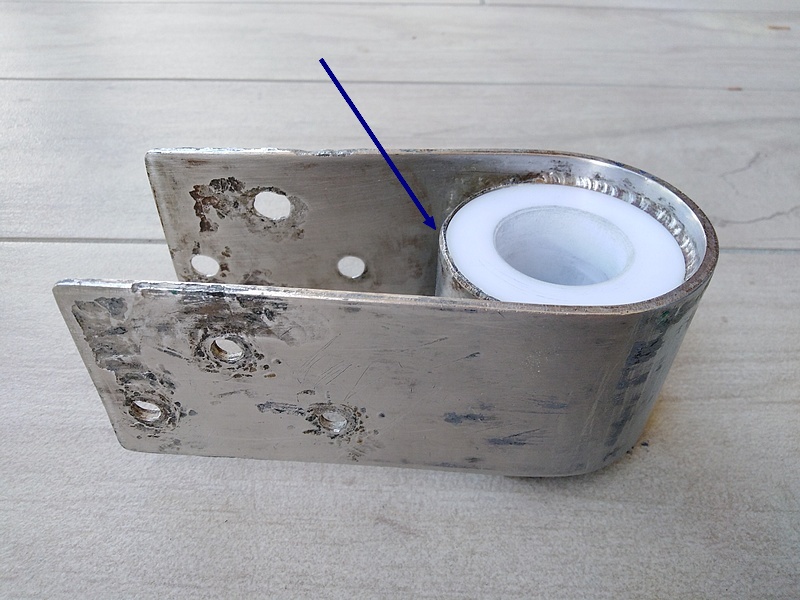
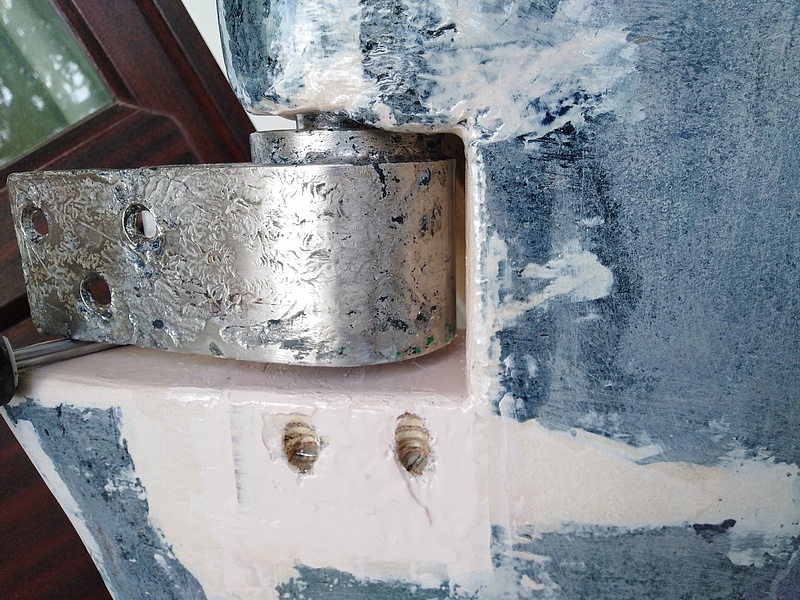
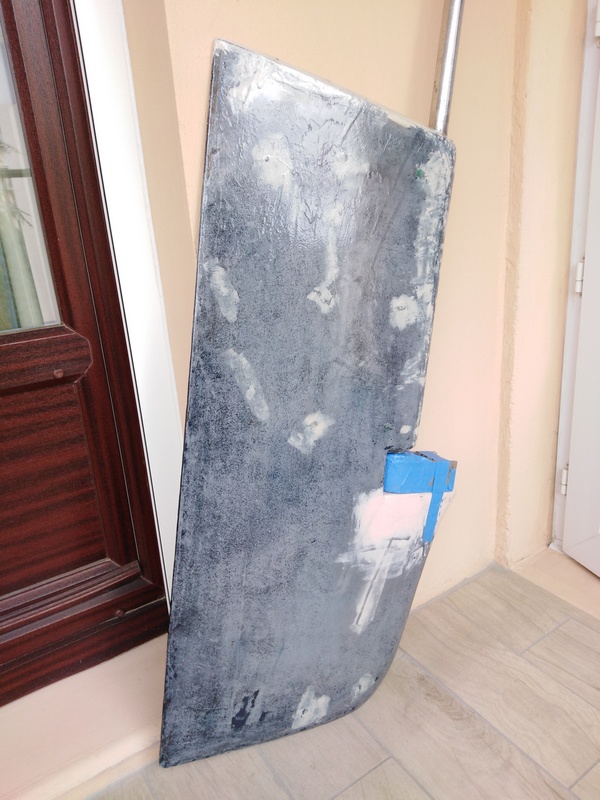
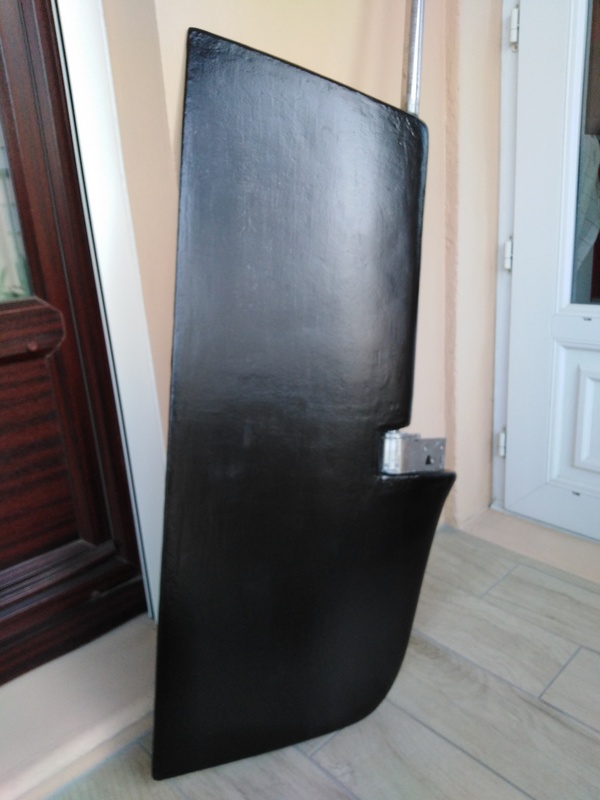
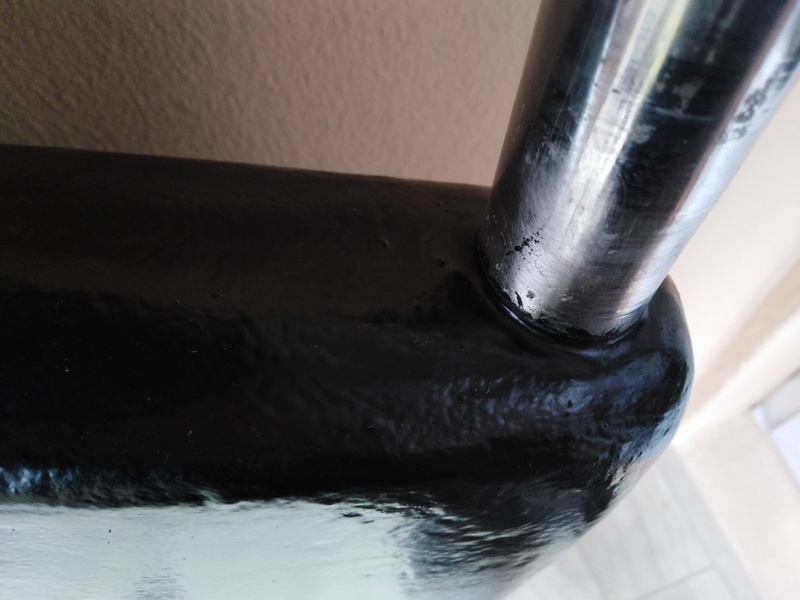
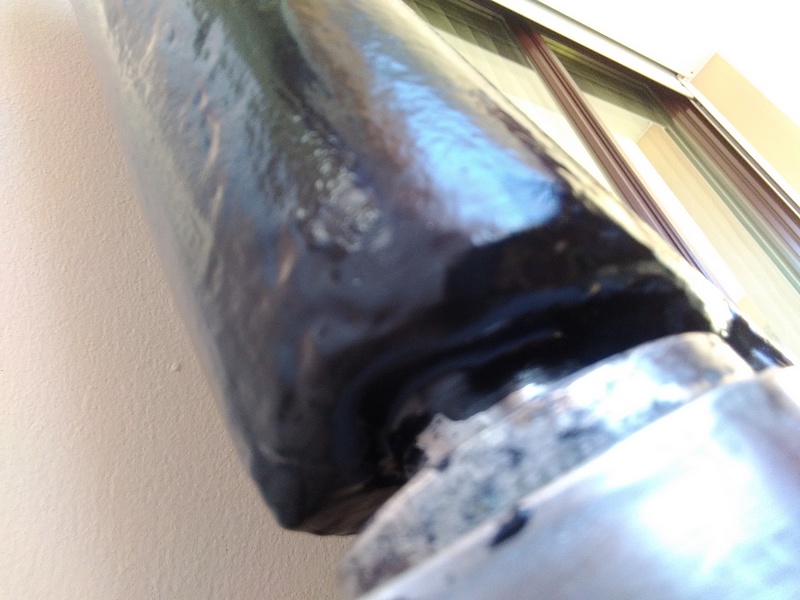
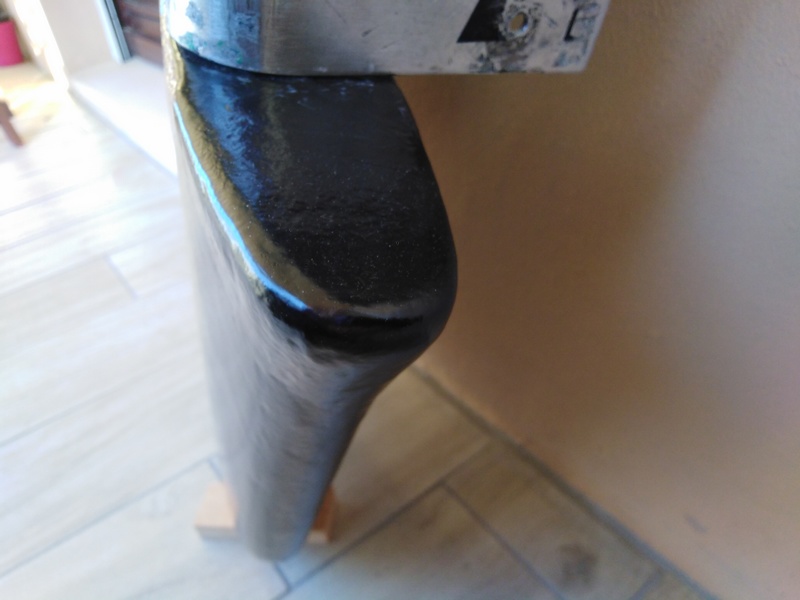
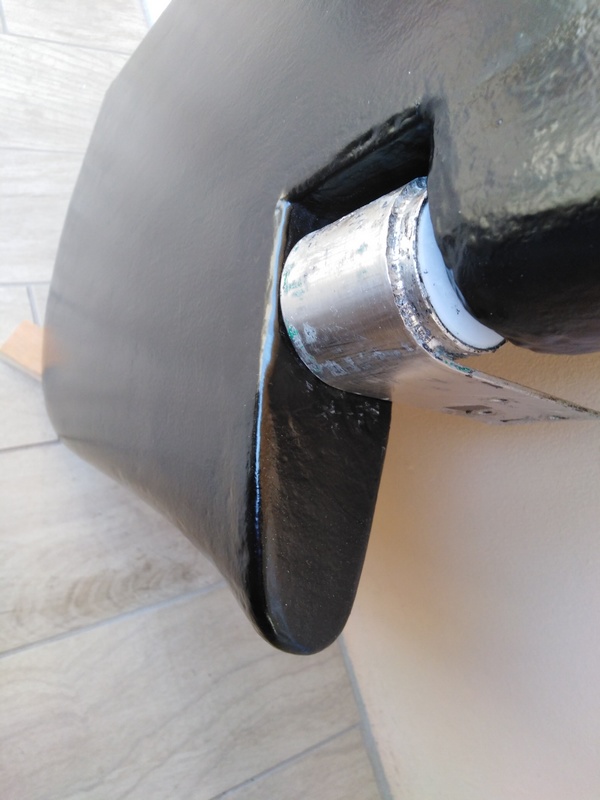
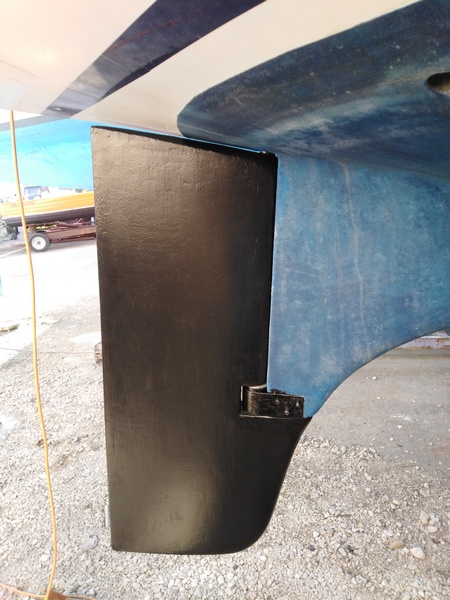
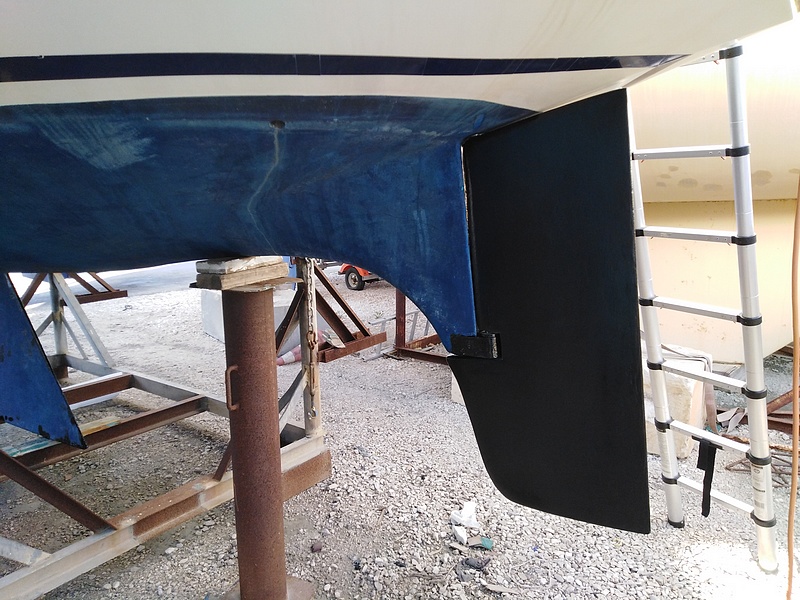
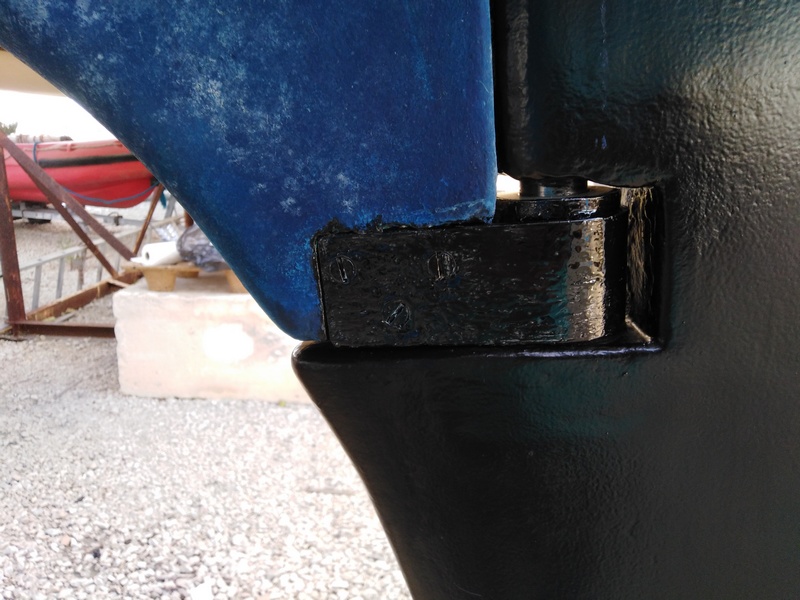
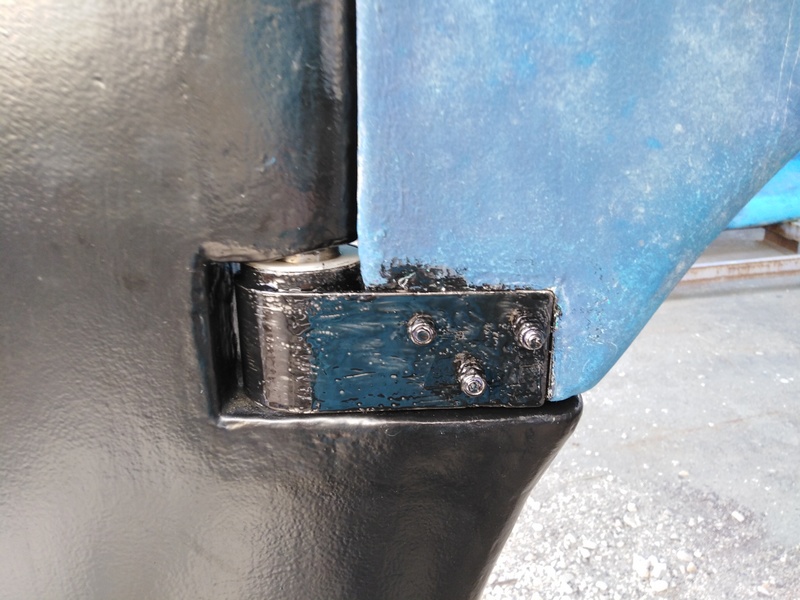
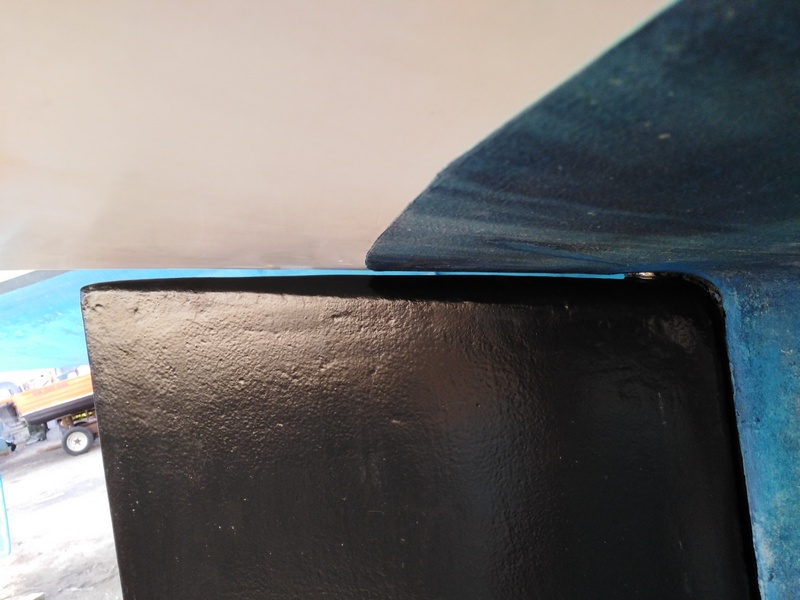
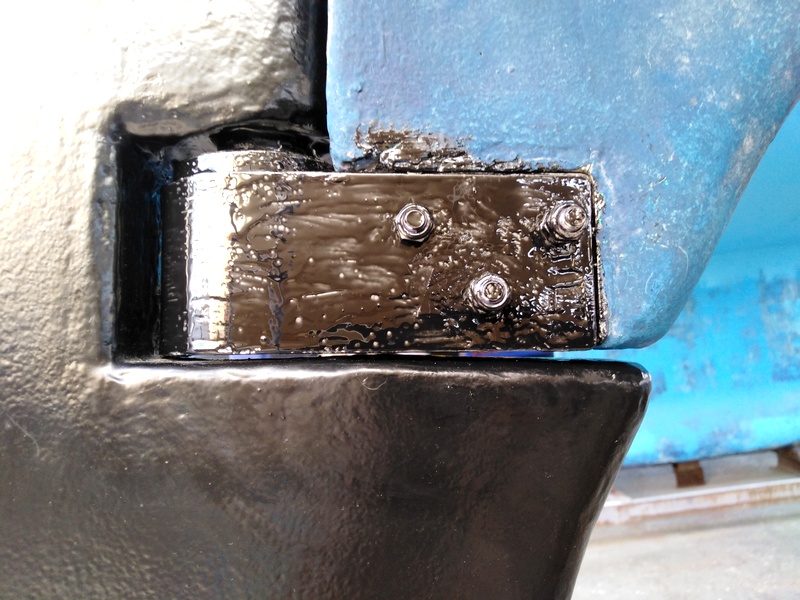
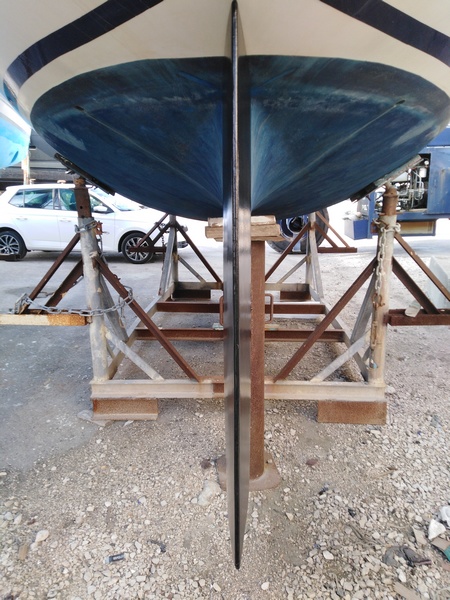
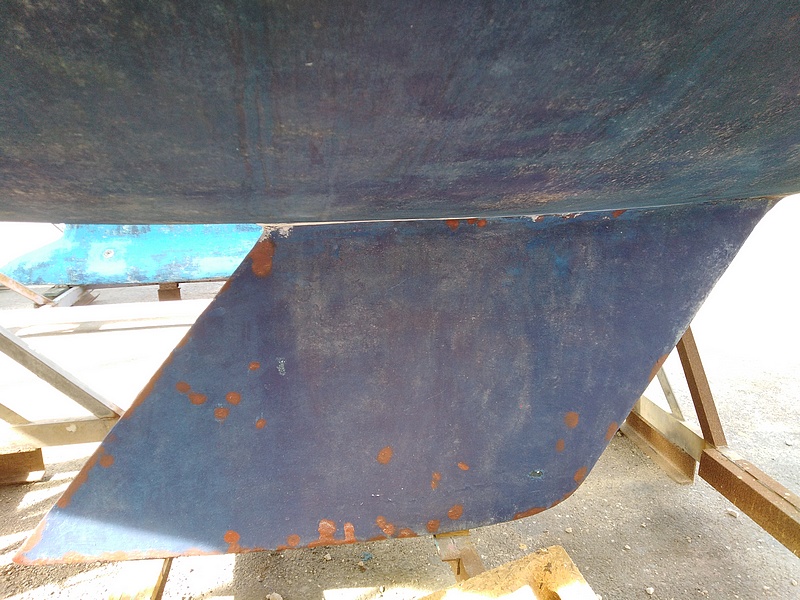
Probably due to water infiltration at the entrance and exit of the rudder stock crossing the rudder blade, the rudder started to decompose in some places. It was therefore imperative to restore it before the next launch of the boat. It was removed completely because the amount of play between the rudder stock and the bearing at the level of the horn pintle was too high. The rudder having dried well during the winter months (2019/20), it was ready for stripping. Particular care has been given to the union between the rudder stock and the rudder blade. Once the rudder removed, it was necessary to take the opportunity to check the bearings at the top and at the bottom of the rudder trunk. These parts were practically not used nevertheless they were replaced with new bearings. The wear at the bottom end of the rudder stock (wich is in the horn pintle bearing) being unequal, the hole in the center of the bearing has been adjusted little by little so that the new housing has a minimal amount of play while having a perfectly free rudder (important for the autopilot). Then the rudder was completely covered with a layer of epoxy resin and smoothed with Nautix "Watertight" coating. Four layers of International VC.TAR2 epoxy primer were added to protect it once and for all. |

|
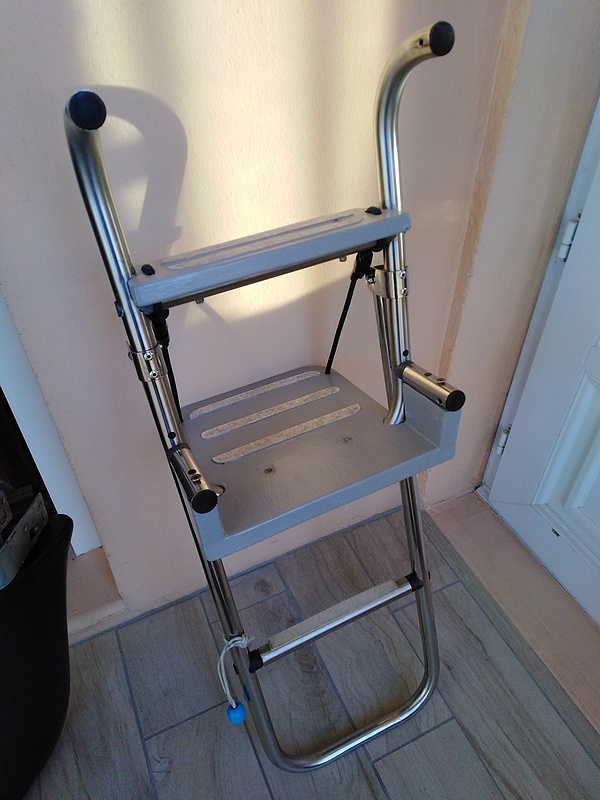
The wooden steps of the ladder have been stripped and the damaged parts redone with polyester putty reinforced with fiberglass (V11 Vosschemie Yachtcare). Then, same treatment as the door, two coats of satin acrylic paint for exterior woodwork with a ten-year warranty, covered with three coats of Syntilor satin and transparent marine varnish. |

|
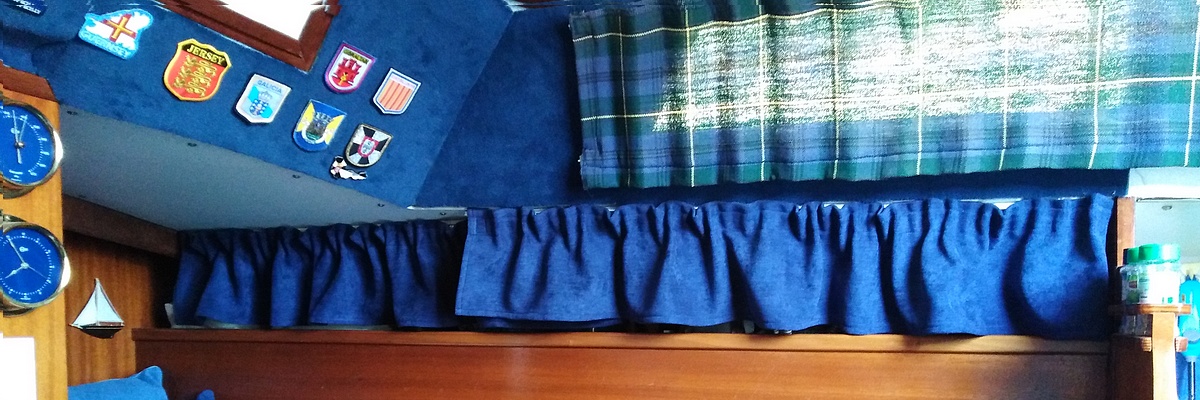
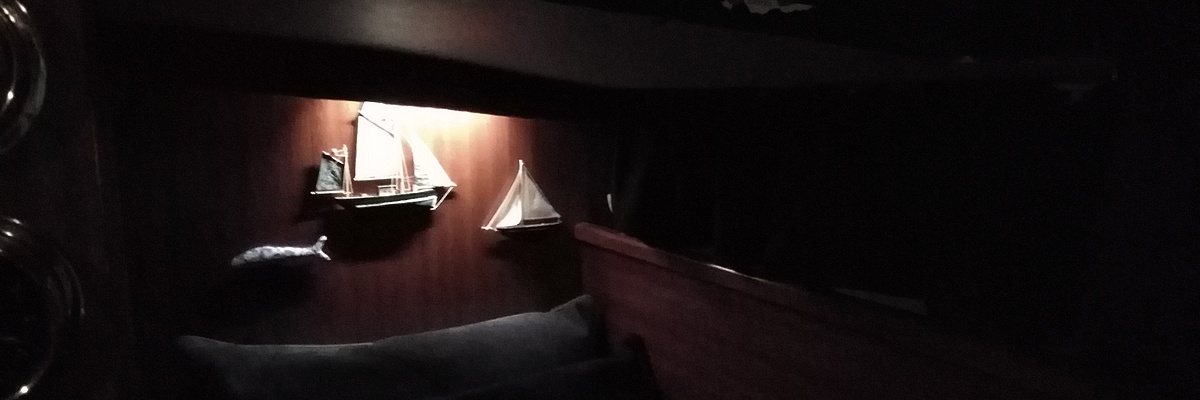
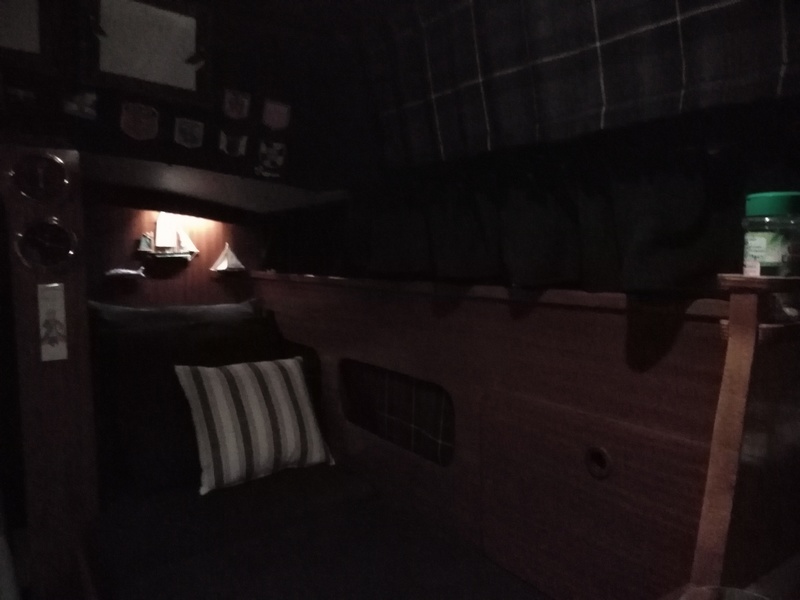
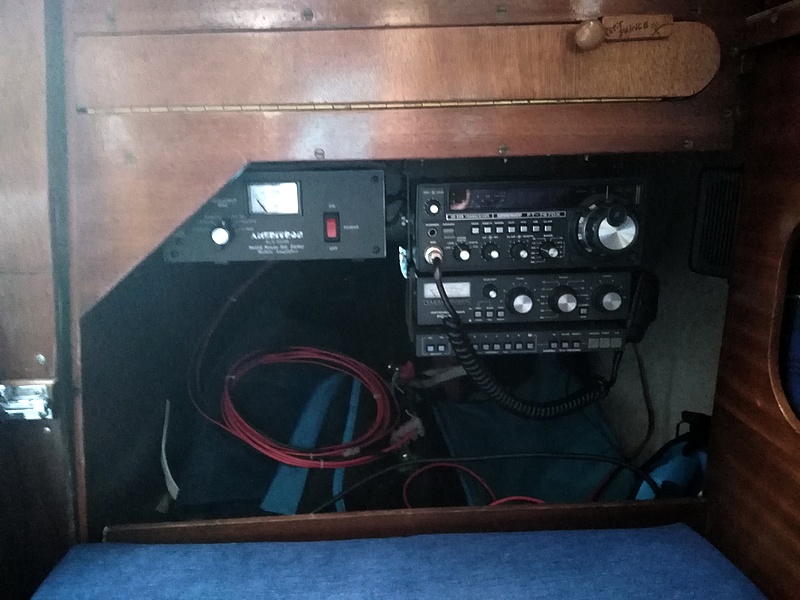
Various cabin comfort improvements, curtains to close the starboard locker, indirect lighting on the starboard side of the saloon, final fixing of the SSB and telegraphy shortwave radio station and its 500W amplifier. Addition of a battery switch to switch between either battery or both at the same time, and a third flexible 120 W solar panel and its regulator. |

|
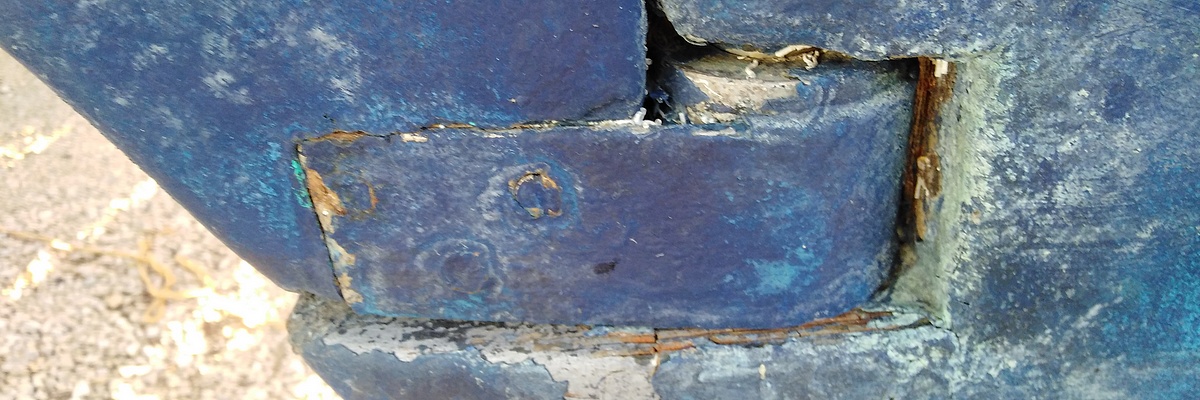
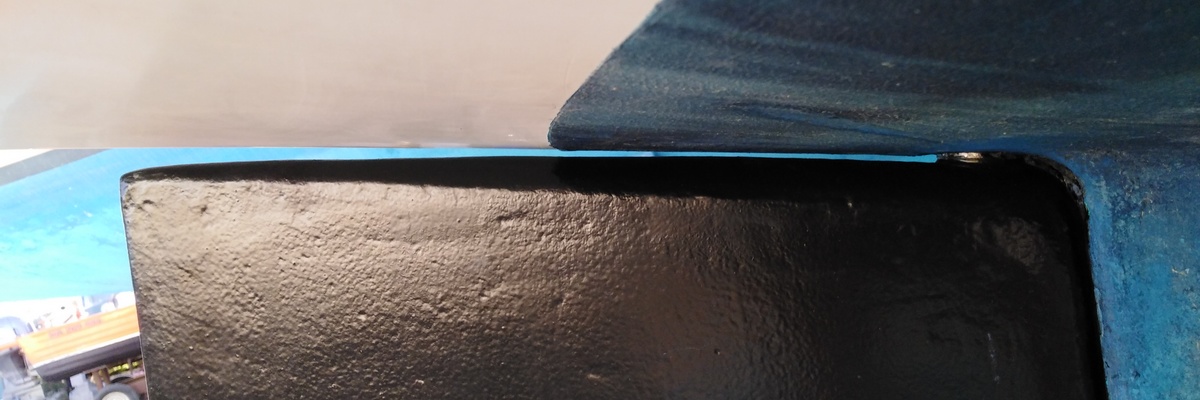
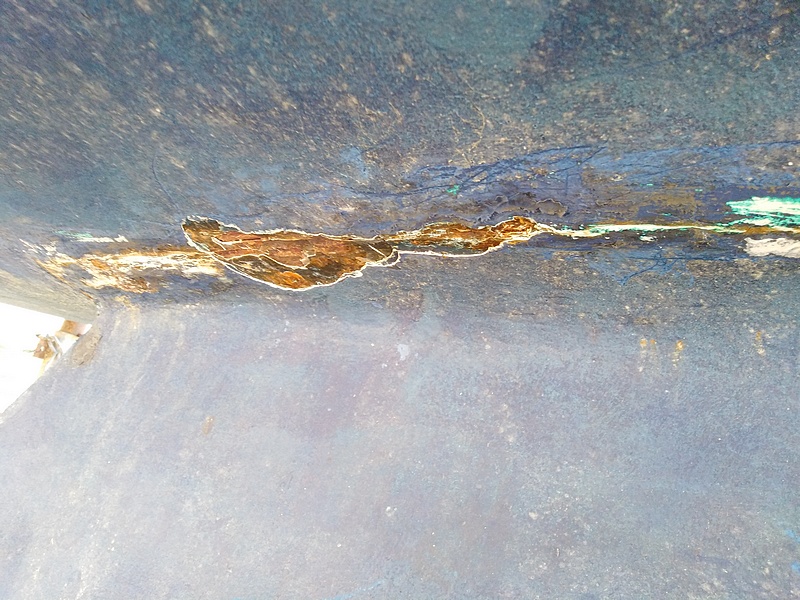
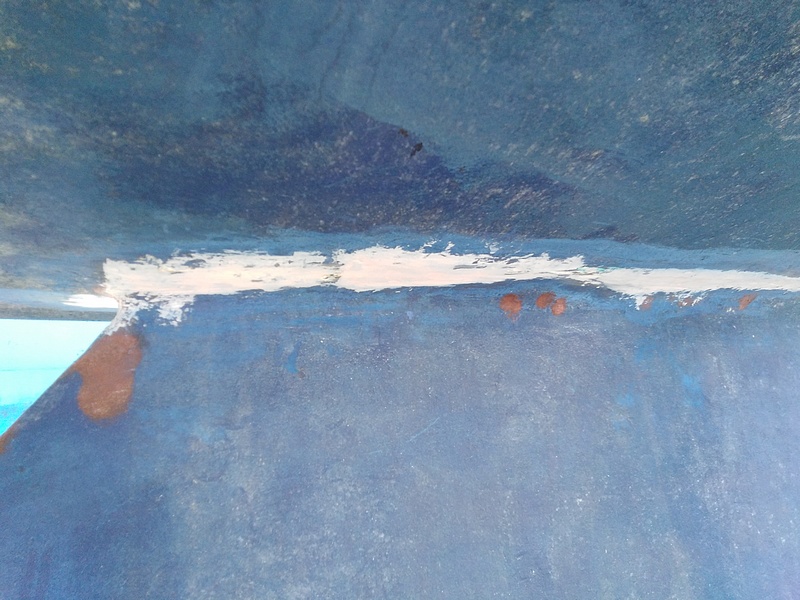
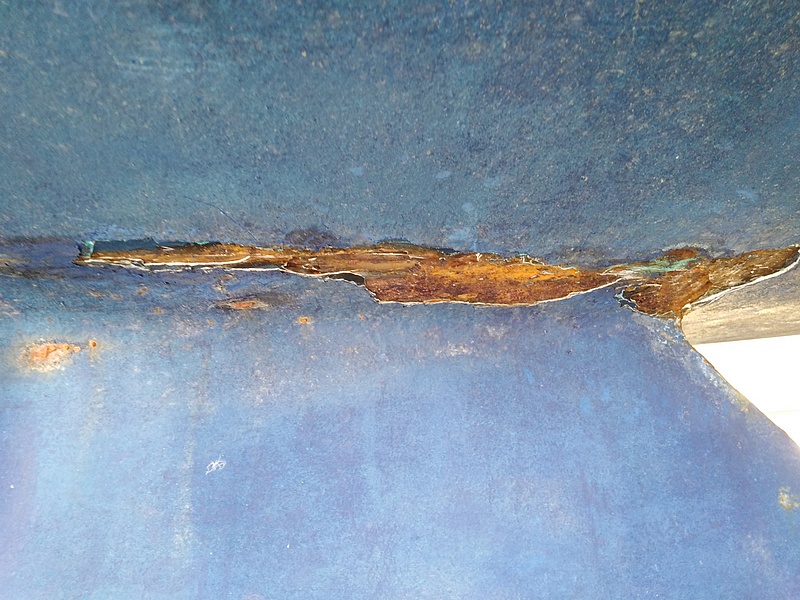
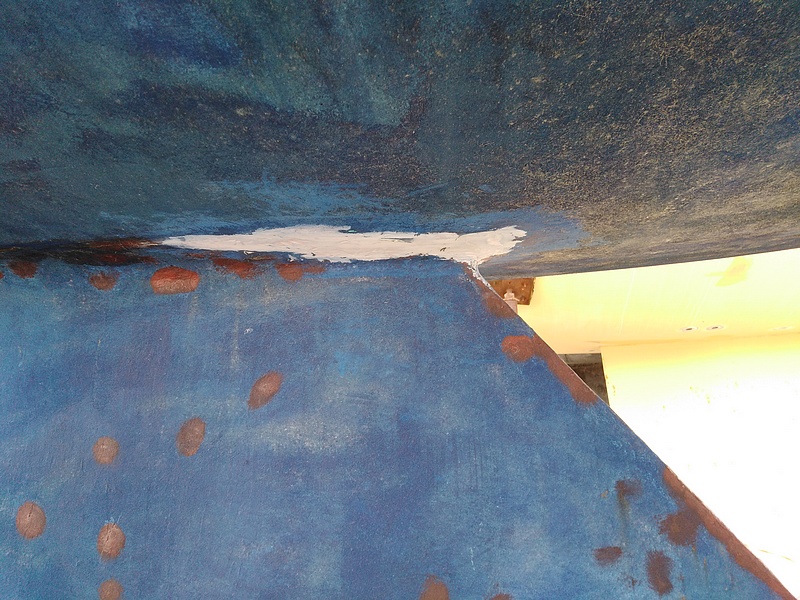
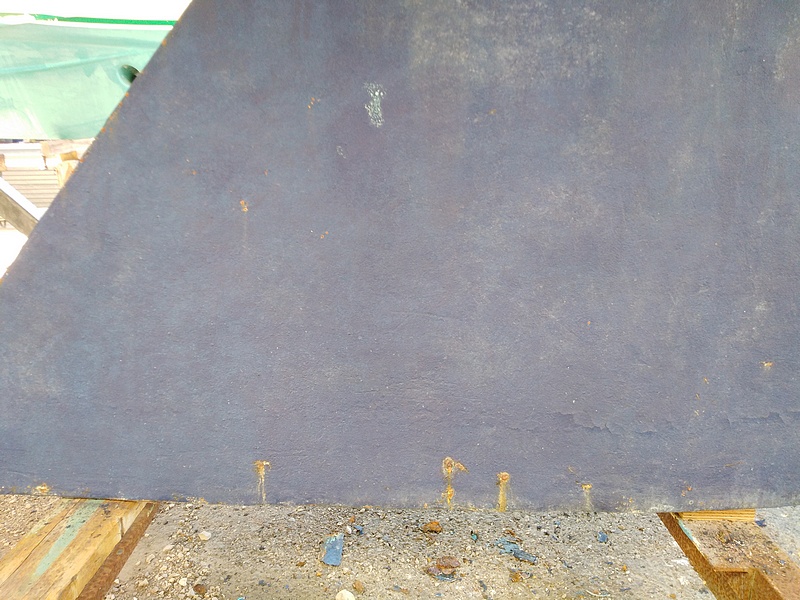
The cast iron constituting the keel is an extremely porous material and the keel / hull junction shows rust at some places. Cleaning and treatment of traces of rust with Owatrol CIP which can be covered by two-component epoxy paints or coatings. Then epoxy coating with Nautix "Watertight" and four coats of epoxy primer International VC.TAR2 to prevent damage coming from inside to the epoxy protective layer of the keel. Same treatment also for some small traces of rust on the keel, probably already caused by an infiltration of water through the cast iron. |


|
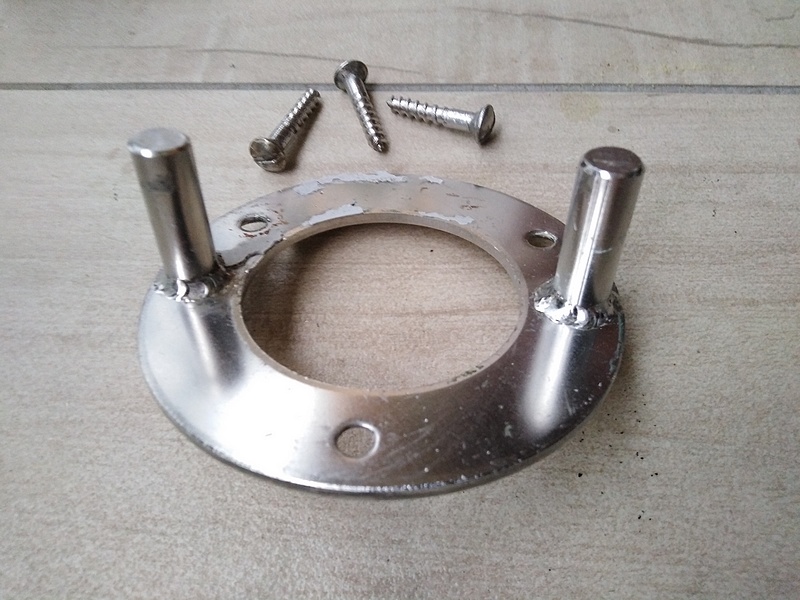
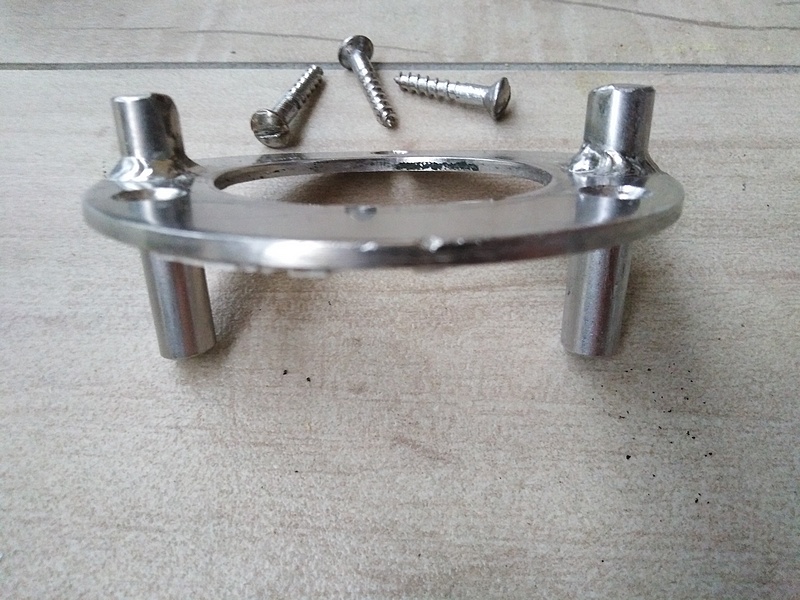
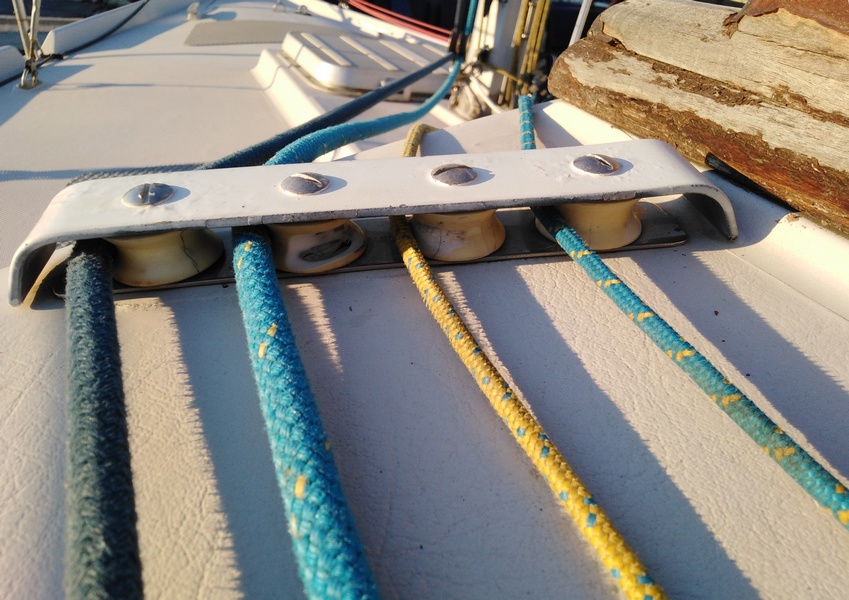
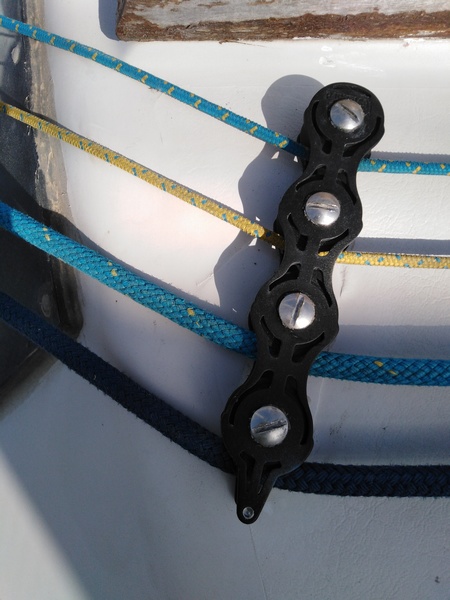
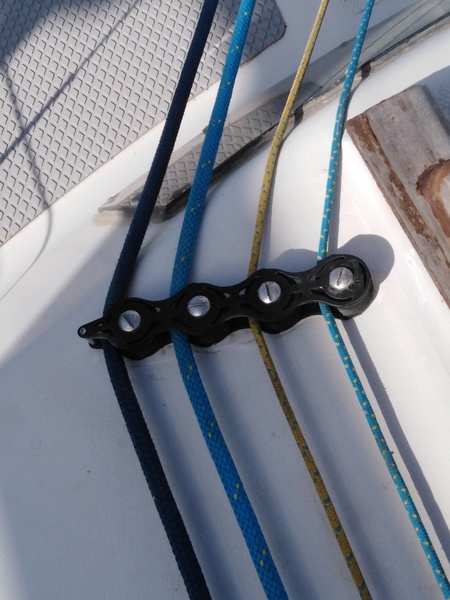
Port deck organiser - four sheaves : the mainsail halyard sheave got stuck and was eventually completely worn by the rope. Another is cracked. The sheaves of this old Wichard brand box, cannot be replaced. To keep the same fixing holes, my choice fell on its replacement by a deck organiser also manufactured by Wichard. The sheaves are now mounted on bearings. |


|
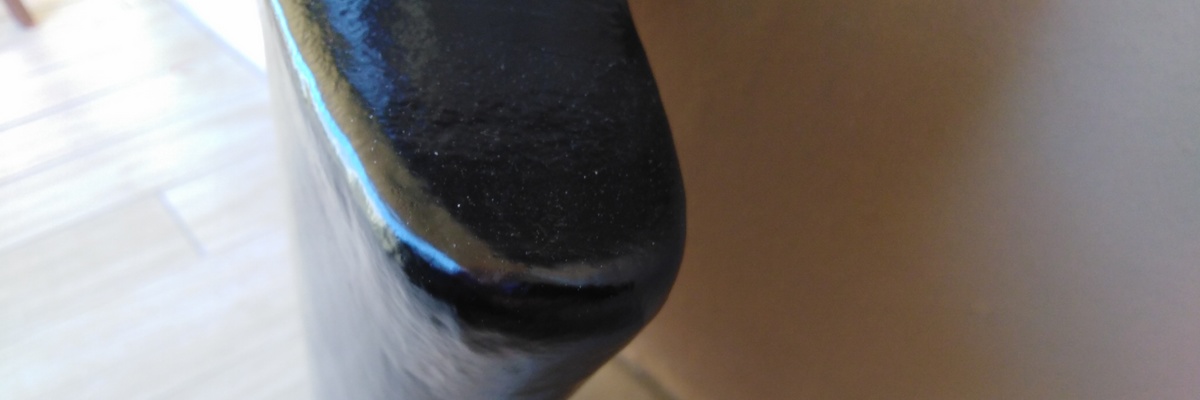
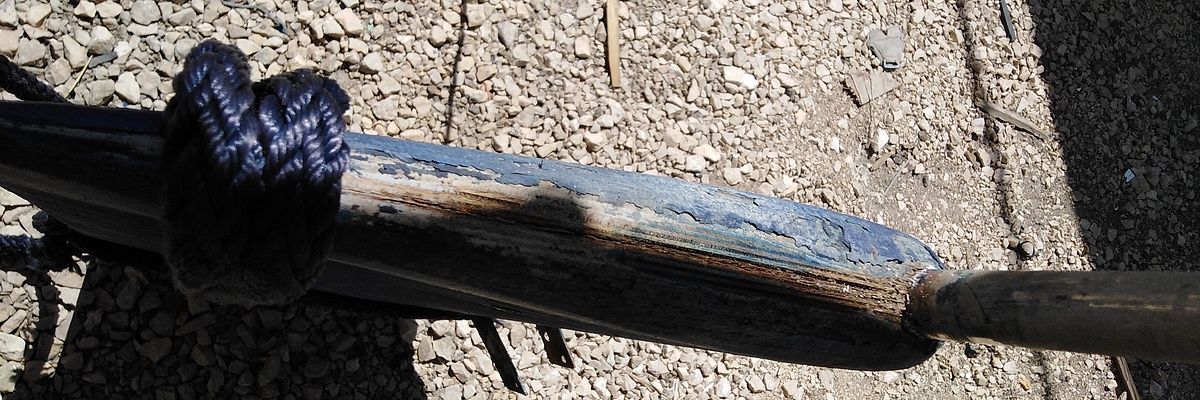
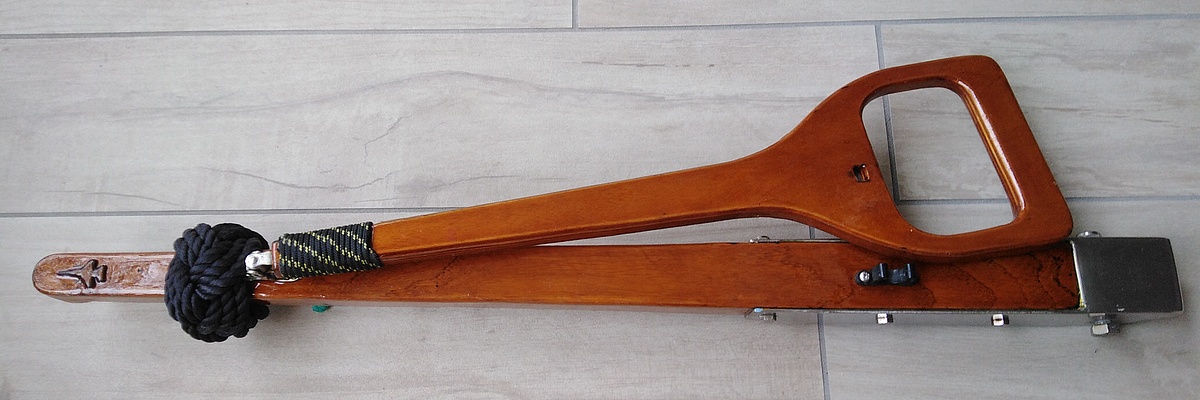
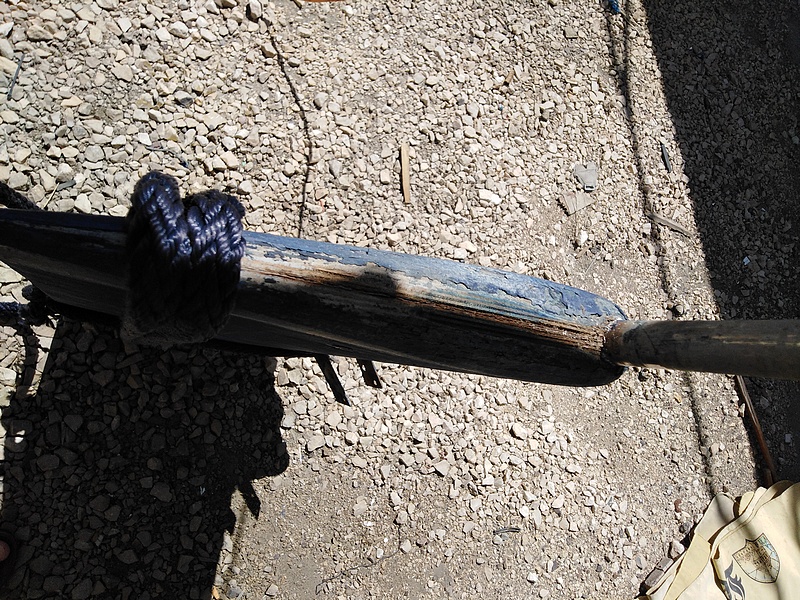
Here again, despite a protective envelope when the boat is not sailing, the bad weather but also the sun of the previous seasons and these four months of navigation have done their work and the varnish on the tiller was starting to deteriorate. Light sanding and the application of eight coats of "Le Tonkinois" varnish should preserve this beautiful piece of wood for a few seasons to come. |
|
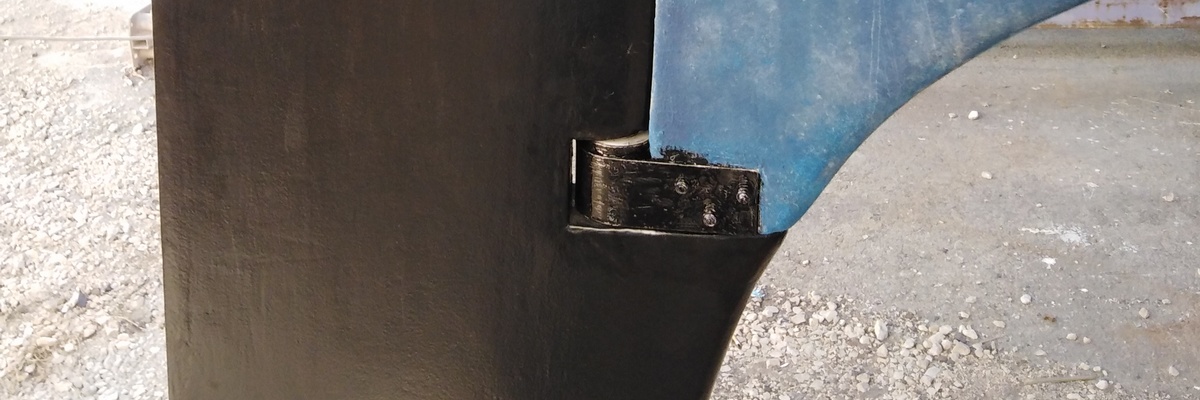
The marine plywood reinforcement panel supporting the engine bracket on the transom also needed a new coat of varnish. Here again, painting was preferred. The panel was in good condition. After sanding, two coats of Soromap SL1 gray Onyx single-component premium gloss marine enamel paint were applied over the existing varnish. |
